DIY Boat Lettering.
DIY Boat Lettering – How to Apply Boat Name Decals
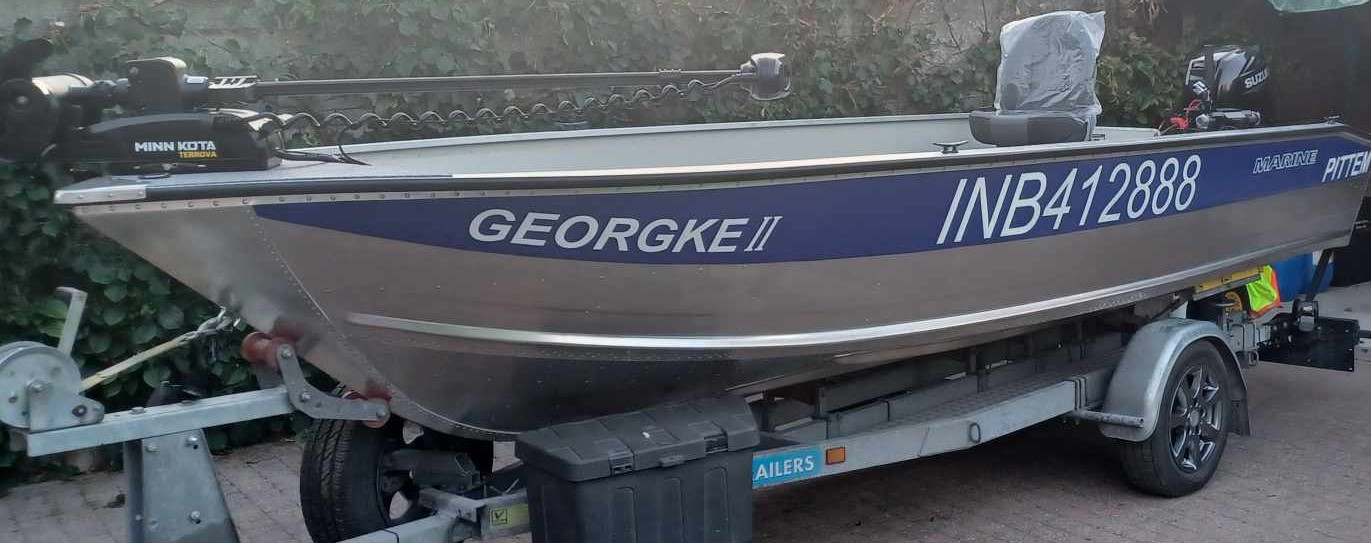
Give your boat a personal, professional look with custom boat lettering. This step‑by‑step guide shows you how to install boat name decals and registration numbers yourself using marine‑grade vinyl—clean, durable and saltwater‑resistant.
1. Prep the surface
Clean thoroughly where the decal will go. A greasy or dusty hull prevents good adhesion. Use a mild cleaner or isopropyl alcohol, then dry completely. Work in the shade above +8°C.
2. Choose your design
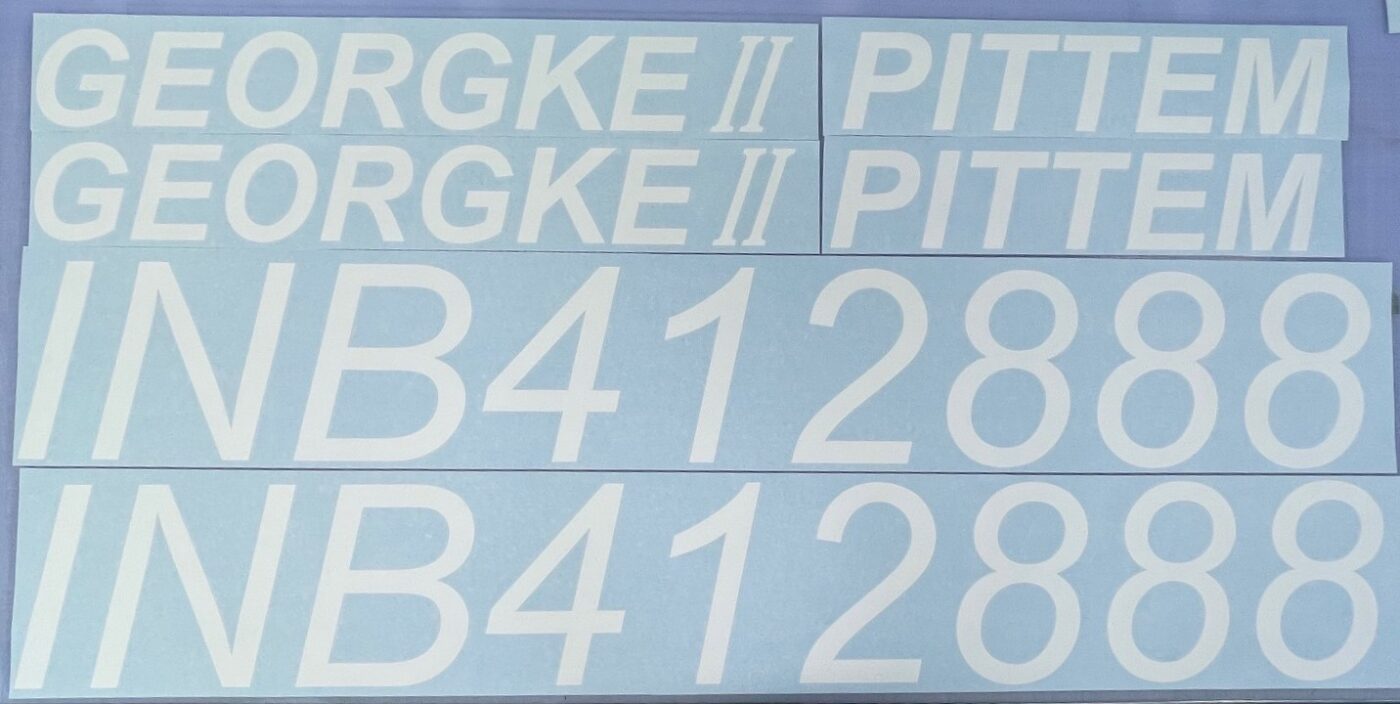
Measure the available space and select the size, font and colour for your boat name or registration. Our marine‑grade vinyl is UV‑ and saltwater‑resistant and built for harsh conditions at sea.
3. Mark the position
Use masking tape or a light pencil line to mark a straight, level baseline. Step back a few metres to check alignment and readability before you apply.
4. Apply the decal
Peel back a small section of the backing paper—don’t remove it all at once. Hinge from the top and work across, squeegeeing firmly as you go to push air out. If a bubble appears, prick it with a pin and smooth it; tiny bubbles often disappear on their own.
5. Squeegee and seal
Go over the entire decal again with firm, overlapping strokes. Pay extra attention to thin strokes and edges so water can’t creep under the film.
6. Allow to cure
Let the adhesive build strength. Keep the area dry for at least 24 hours before washing or high‑speed runs.
7. Care and maintenance
Wash with mild soap and a soft cloth. Avoid harsh solvents and aggressive scrubbing over the lettering for maximum lifespan and colour vibrancy.
With a little patience you can install custom boat lettering that looks great and lasts. Personalise your hull with a unique boat name or registration and enjoy a professional, paint‑like finish.
Start designing your custom boat stickers